If you are a Windows operating system user then taking screenshots is not so difficult for you. But a as a windows user taking effective screenshots is really hard without the help of external tools. If you want to take a screenshot of a specific section of the screen, then that is not so easy to do. Here I will show you that how you can take screenshots like a professional.
How do you take a screenshot on Windows?
Press on the "Windows" key and "Print Screen" at the same time. This command will take a screenshot and save it in the pictures folder. You will find each screenshot in the This PC > Pictures > Screenshots folder.
To take a screenshot of a specific section of your screen you can use the snipping tool. You can find this tool in every modern Windows computer. In Windows 10 search for the "snipping tool" in the search bar. You will find a program named "snipping tool".
Open this software and click on the "new" button. This will activate the snipping functionality. Left-click on the mouse and move it to the target section and then remove your finger from the left click button. Now your screenshot is ready!
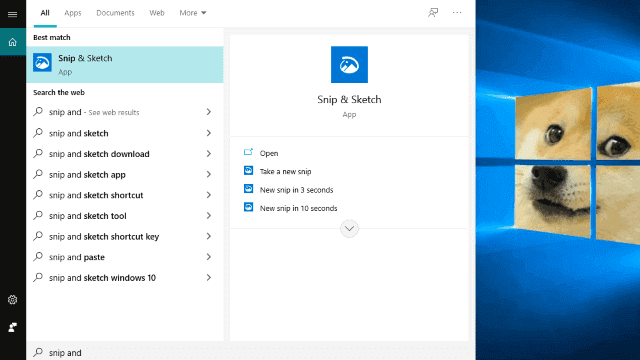
You can right-click on the picture and copy, save, share this screenshot. You can edit this picture here using the pen tool and highlighter tool. Which will make your capture more informative and focusable. You can use the modern version of the snipping tool which is "snip and sketch". if you are a valid windows 10 user then you can find this option in the search option.
Using this tool you can do the same job but it provides more functionality with great flexibility. The functionality I like more is the ruler tool. If you are working with a technician or tutorial type of content then I am sure this will help you a lot.
In this way, you can take great screenshots for your personal or professional jobs. Check our other articles about the windows operating system. You will learn many great things from our website.


